To protect VMware vSphere VMs, you add your vCenter server, and then select the access node, credentials, storage, and backup plan you created as part of Get started with Commvault.
Multi-region environments
If your environment spans multiple regions, configure multi-region backup plans.
Backup configuration
Start the configuration
-
From the Command Center navigation pane, go to Explore > Service catalog.
-
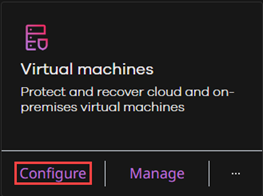
On the Virtual machines tile, click Configure.
-
Click VMware vCenter.
-
Click Add vCenter.
Add a vCenter server
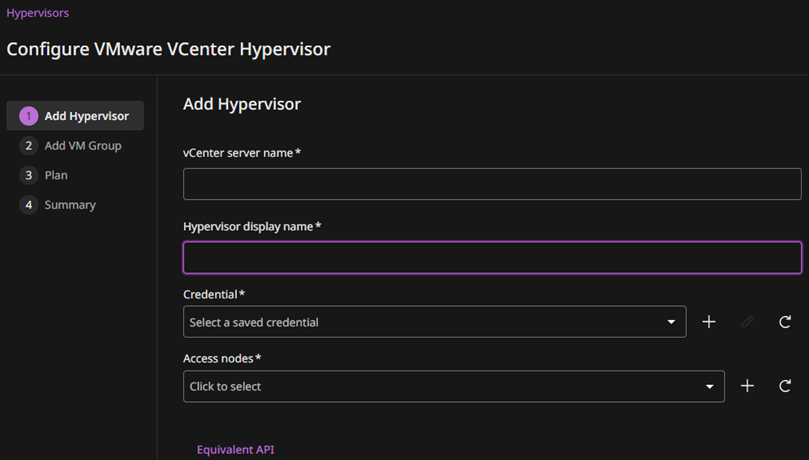
-
Enter the hostname or IP address of the vCenter server.
Use a non-default vCenter port
If your vCenter server uses a non-default port, append the port number to the host name. For example,
vc.example.com:1500. -
Create credentials with the username and password for the vCenter user account that has the role you created in Create VMware permissions for Commvault using a PowerShell script.
-
For Access nodes, select Automatic.
If your environment has multiple networks or if you need to control where backup data is transferred from, select a specific access node.
You can also add a Windows or Linux access node. For information about access nodes, see Understand and create access nodes.
If you might need to restore VMs when vCenter is unavailable (for example, restoring the vCenter VM), make sure you can access a restore destination without vCenter, such as a reachable ESXi host.
-
If a certificate warning appears for vCenter, enable the Skip SSL/TLS certificate verification toggle key only if you trust the vCenter endpoint and understand the security impact.
Linux access node certificate validation
If you use a Linux access node, certificate validation can fail intermittently when the certificate issuer is not trusted by the Linux OS certificate store.
To resolve this issue, add the certificate to
/etc/ssl/certs/ca-bundle.crt, runcert-sync /etc/ssl/certs/ca-bundle.crt, and retry the VMware vSphere hypervisor configuration.
Create a VM group and assign a backup plan
A VM group is a set of VMs that share the same backup frequency, retention, and storage settings, as defined in the backup plan.
After you complete these steps, you can create additional VM groups for the same hypervisor to apply different backup plans or to organize VMs by workload.
-
Select the VMs to include in the VM group.
In most cases, use Add rules to dynamically select VMs. You can also manually select VMs. For more information, see Configuring VM groups, sets of VMs to back up with the same settings.
Important
Don't include VMware Site Recovery Manager (SRM) placeholder VMs. They're not supported and can cause backups to fail.
-
Assign the backup plan.
-
Click Save to create the VM group.
Validation
Verify the configuration
-
Confirm that the vCenter server appears in the list of configured hypervisors.
-
Confirm that the selected VMs are listed and associated with the backup plan.
Run a backup
Run a backup for the VM group you created to confirm that backups work correctly.
You can also test backups for some individual VMs.
-
From the Command Center navigation pane, go to Protect > Virtual machines.
-
Click the VM group.
-
Click Back up.
-
Select Incremental or Full, and then click Run.
Confirm that the backup completed successfully
-
From the Command Center navigation pane, go to Monitor > Jobs.
-
Locate the backup job for the VM group.
-
Confirm that the job status is Completed.
If the job fails, review the error details. Common causes include permission issues, network connectivity problems, and snapshot failures in the VMware vSphere environment.
If the job fails while reading VM data, confirm that your environment supports the selected transport mode and that access nodes are placed correctly. For more information, see Plan your VMware vSphere deployment.
Test a restore
To confirm you can restore data, perform a simple file restore.
-
From the Command Center navigation pane, go to Protect > Virtual machines.
-
Click the VM group, and then click a VM.
-
In the Recovery points tile, select a recent backup.
-
Click Restore.
-
Select Guest files, and then restore a small file or folder.
-
Verify that the restored data is accessible.