Follow the steps given below to restore the client computer to a similar computer or another computer that has the same hardware and disk configuration as that of the backed up computer.
Before You Begin
Ensure that the API restriction is not enabled on the user group to which the user performing the 1-Touch Recovery operation belongs. For more information on managing access to specific applications for users and user groups, see Restricting Access to Commvault Applications
Procedure
-
Use the 1-Touch Live CD to boot the client computer.
-
Optional: In the Language Selection Dialog dialog box, select a language from the list. To use the same language for the keyboard, click Use default keyboard for the selected language check box and click OK.
The 1-Touch Recovery Wizard appears.
-
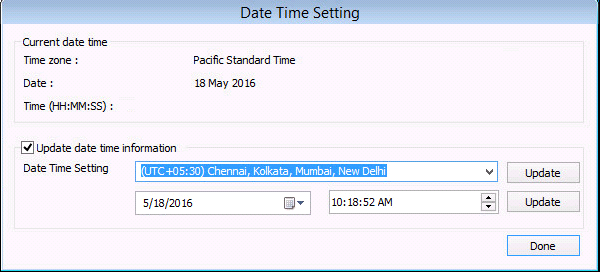
On the WinPE computer notification area, click on the clock and date settings. If you select a time from the Date Time Setting drop down list, click Update and then click Done.
-
On the Welcome page, a warning message appears that says that the response files are not found. Click Cancel to start the interactive restore.
Make sure that you are installing the latest ISO updates by verifying the Binary version area for the latest service pack.

-
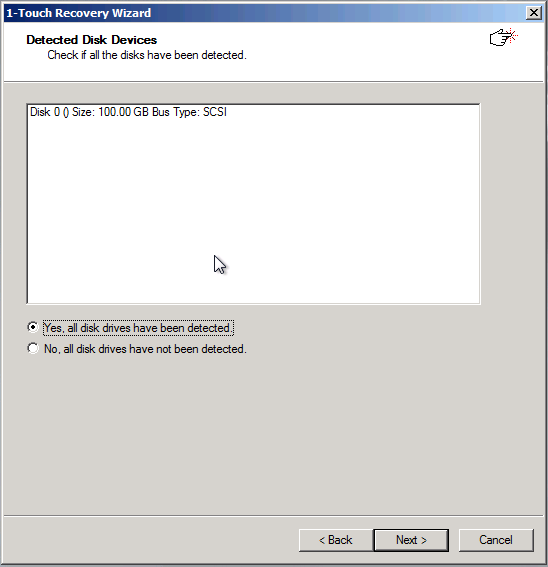
On the Detected Disk Devices page, click Yes, all disk drives have been detected. If you do not see the required drivers, add the drivers to the downloaded ISO.
For more information on adding drivers, see Adding Drivers to Windows Driver Manager and Adding Windows Drivers for NIC and Mass Storage Devices.
-
On the Client & Network Information page, make the following selections:
-
To enter the CommServe or Gateway hostname, select CommServe or Gateway hostname.
-
To enter the port number, select CommServe will connect to this computer on port.
-
Enter the CommCell User Name and Password.
-
To configure your network, click Configure Network Connections and then, select the Network Connection from the Connection drop-down box.
-
Click Fetch client list from CommServe to get the list of all file system clients on which the system state backups have been performed.
-
If you selected the CommServe will connect to the computer on port radio button, an information box appears. The information box states that a new client must be created in the CommCell Console for the CommServe to initiate a connection with the client computer. Make a note of the IP address that appears in the information box.
Select the Confirmed, the client has been created check box and then, click OK.
-
Open the CommCell Console and go to Client Computers > New Client > File System > Windows.
The Configure New Windows Client dialog box appears.
-
In the Client Name box, enter <SourceClientName>_Recovery.
In the Host Name box, enter the IP address noted from the information box.
For more information on the options, see New Windows Client.
-
Click Finish.
-
Add the newly-created client to the client group that you created with the firewall configuration. For instructions, see Associating or Disassociating Clients.
-
Click OK on the information box.
-
Click Next.


-
-
-
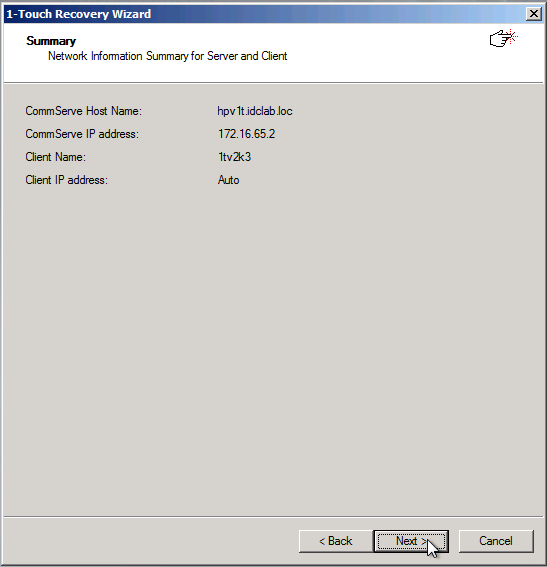
On the Summary page, click Next.
-
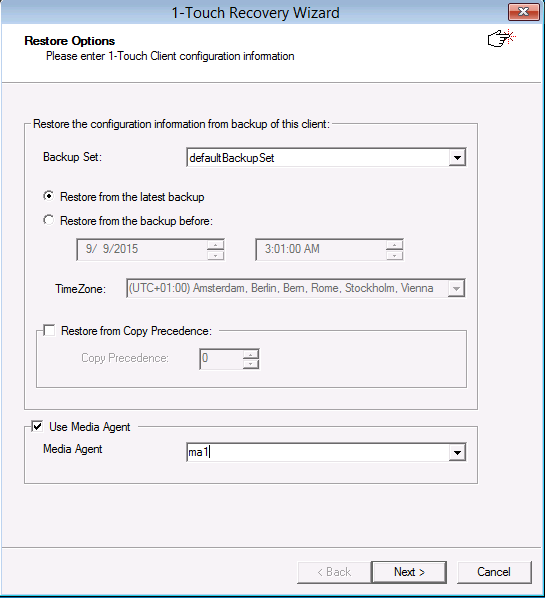
On the Restore Options page, click Next.
Note
-
By default, the client configuration backed up by the default backupset during most recent backup, will be used to restore the client.
-
You can select a different MediaAgent computer than the one used to perform system state backups. Select the Use MediaAgent check box and select a MediaAgent from the MediaAgent list.
Make sure that the Allow restore jobs to use alternative MediaAgent and Drive Pool to access required media parameter in the Control Panel is set to a value of 1. For more information on how to set the parameter, see Media Management Configuration: Resource Manager.
-
-
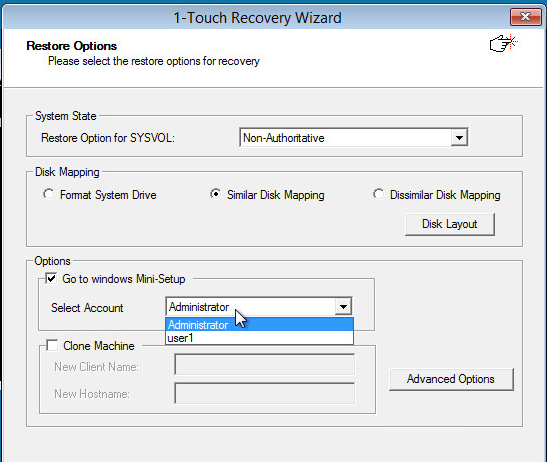
On the Restore Options page, review the restore options and click Next.
Note
-
Multiple users can recover the data from your computer using 1-Touch Recovery. In the Select Account box, select an account that is part of the administrators group to restore Windows Mini-Setup (SysPrep) components after 1-Touch recovery.Important: If you rename the administrator account on the source computer, then, after a 1-Touch Recovery operation that contains the Mini-Setup (SysPrep) components, the user account on the destination computer is automatically renamed to the original name.After restarting the computer, you can log on to the destination computer using the same credentials that you used on the source computer for the renamed account.
-
To restore Active Directory (AD) using 1-Touch Recovery, in the System State area, select Non-Authoritative from the Restore Option for SYSVOL drop-down box. However, AD recovery is not supported using minisetup (sysprep) or with clone option.
-
To add the destination or the cloned computer to a domain based on your requirement, select the Clone Machine check box, click Advanced Options and enter the domain credentials.
- To restore a Drive X from the source computer, select Dissimilar Disk Mapping to exclude the drive from the 1-Touch Recovery operation, else restore the Drive X with a different drive letter. After the recovery operation is complete, you can change the drive letter back to X.
-
-
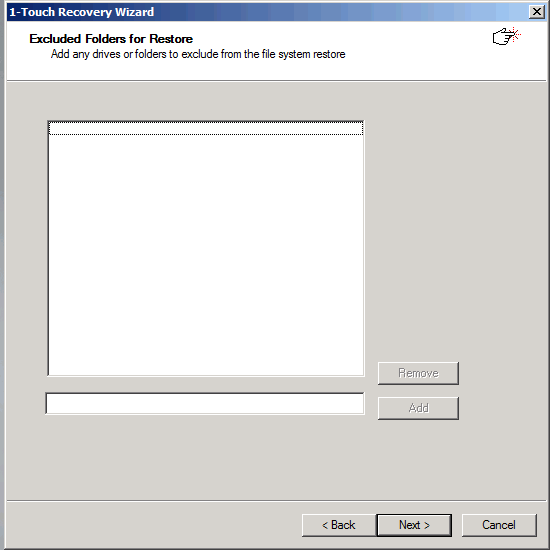
On the Excluded Folders for Restore page, click Next.
Note
-
If you want to exclude any folder or driver from the full system restore, enter the path of the folder or driver and click Add. For example, to filter folder2 from the test folder in drive C, type C:\test\folder2.
-
To exclude a complete volume, type the name of the volume. For example, to exclude the entire volume D, type D:\ and click Add.
-
Exclude mount points during restore as mount points are not restored correctly during 1-Touch Recovery.
-
-
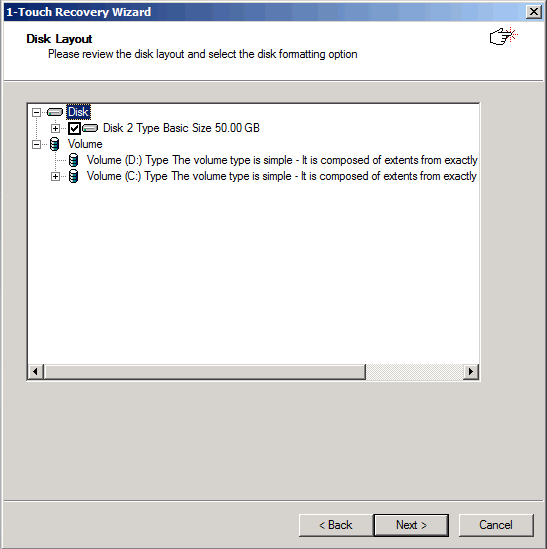
On the Disk Layout page, click Next. You must customize the disk layout of the destination computer if it has a different disk layout than the source computer (computer on which the system state backup was performed). For instructions, see Customizing Disks during 1-Touch Recovery (Dissimilar System Restore).
-
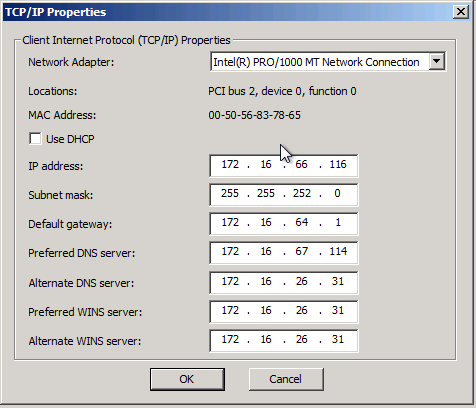
In the TCP/IPProperties dialog box, review the Client Internet Protocol (TCP/IP) Properties, and click OK.
The full system restore starts.
-
On the Restore Summary page, click OK on the success dialog box that appears after the restore completes.

-
Remove the Live CD and restart the computer.
Note
Depending on the operating system version you are restoring, you might have to restart the computer several times.
-
Log on to the computer using the local administrator account.