You can restore VMware vSphere VMs as full VMs, files, or VM disk files. Full VM restores can return the VM to its original location or an alternate location.
Restore behavior can vary depending on your environment. For example, restoring to a different location might require compute, storage, and network settings that match the destination environment.
-
From the Command Center navigation pane, go to Protect > Virtual machines.
-
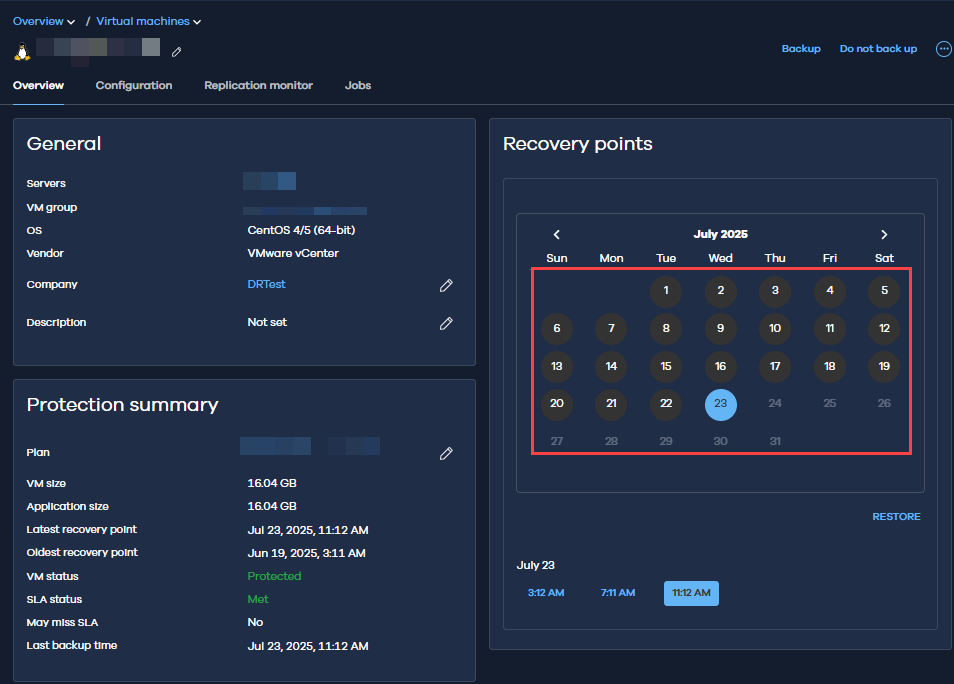
On the Virtual machines tab, click the VM.
-
In the Recovery points tile, click the date of the backup to restore, and then click Restore.
-
Click Full virtual machine.
-
Click In place, leave the default values, and then click Next.
-
Select the checkbox for the VM.
-
Review the overwrite warning, and then click Next.
-
On the Summary page, review the settings.
-
Click Submit.
-
From the Command Center navigation pane, go to Protect > Virtual machines.
-
On the Virtual machines tab, click the VM.
-
In the Recovery points tile, click the date of the backup to restore, and then click Restore.
-
Click Full virtual machine.
-
Select Out of place.
-
For Restore as, select the destination platform, and then click Next.
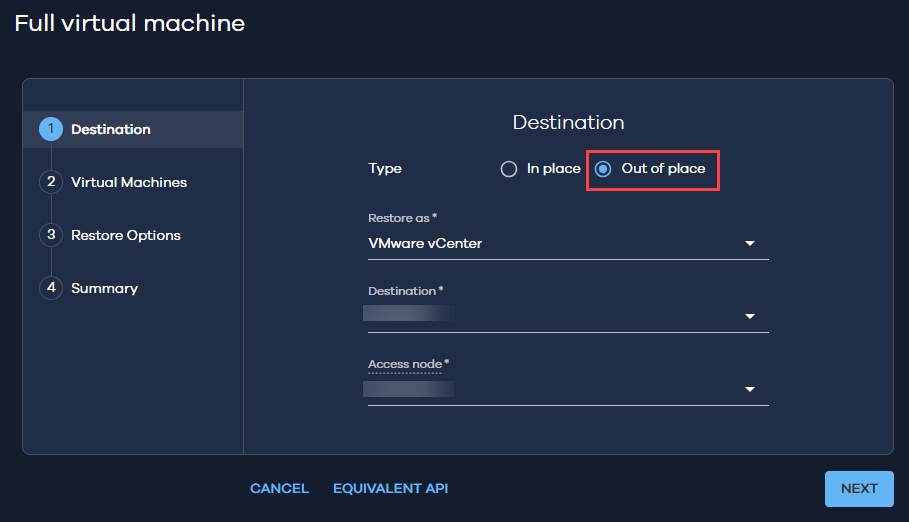
Destination platforms
-
VMware vCenter: Restore the VM to the same or another VMware vSphere environment. This is the most common option.
-
Azure Resource Manager / Amazon Web Services / Microsoft Hyper-V / VMware Cloud Director: Restore the VM to a different platform. Use this option for migration, disaster recovery, or testing in another environment.
-
Additional configuration is required, such as cloud credentials, instance settings, and network mapping.
-
The restore workflow remains the same, but the available options vary by platform.
-
-
-
Select the checkbox for the VM, and then click Next.
-
On the Restore options page, configure the destination:
-
VM name: Specify a name for the restored VM.
-
Destination host or compute: Select where the VM will run.
-
Storage location: Select where the VM disks will be stored.
-
-
Configure restore options to customize VM placement, networking, and restore behavior. For other settings, see Common settings for virtual machine protection.
-
VM storage policy: Select a storage policy for the VM. The storage policy controls storage behavior and compliance.
-
VM disk configuration options: Map individual disks to datastores to distribute disks across storage locations.
-
Resource pool or compute group: Select the compute resource group. Use this setting in environments with resource segmentation.
-
Destination folder or resource group: Specify where the VM is created for organization and access control.
-
VM custom attributes: Modify or preserve metadata. Use this when your environment relies on custom attributes.
-
-
Click Next.
-
On the Summary page, review the settings.
-
Click Submit.
Use this option to restore files and folders from a VM backup.
By default, the Commvault Virtual Server Agent package accesses the backup data, and the File System package restores the files to the destination VM.
Requirements and limitations
-
For some Linux VMs, file restore operations might require selecting a specific access node. If file browsing or restore fails, select an access node that can access the VM disks.
-
For Linux destination VMs, the restore account must have direct read and write permissions to the destination files and folders. Accounts that require
sudofor file access aren't supported. -
Windows NTFS reparse points, including junction points and mount points, aren't restored.
Procedure
-
From the Command Center navigation pane, go to Protect > Virtual machines.
-
On the Virtual machines tab, click the VM.
-
In the Recovery points tile, click the date of the backup to restore, and then click Restore.
-
Click Guest files.
-
Browse or search for the files or folders to restore.
-
Select the items to restore, and then click Restore.
-
Select the destination:
-
Restore to the original VM: On the Select client tab, verify that the source VM is selected for Destination client.
-
Restore to a different VM: On the Other VM tab, specify the destination hypervisor and VM.
-
Restore to a destination that doesn't have the File Restore Agent installed:
-
On the Select client tab, for Destination client, select the destination.
-
To install a restore-only version of the file system package for a faster restore, select Restore via CV tools.
Restore files without the file system package
Use this option when you can’t install the file system package on the destination VM, such as in restricted networks, and:
-
You’re restoring less than 10 GB or fewer than 10,000 files.
-
You don't need full ACL or file attribute recovery.
-
Performance is less important.
-
-
-
Click Next.
-
On the Summary page, review the settings.
-
Click Submit.
Use this option to restore virtual machine disk files, such as VMDK files, or configuration files from a VM backup.
-
From the Command Center navigation pane, go to Protect > Virtual machines.
-
On the Virtual machines tab, click the VM.
-
In the Recovery points tile, click the date of the backup to restore, and then click Restore.
-
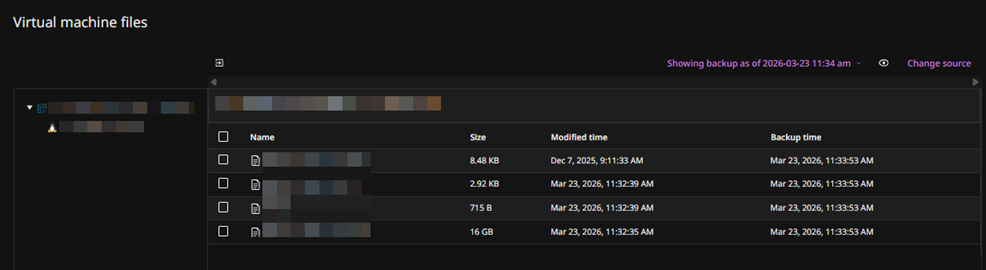
Click Virtual machine files.
-
Browse the VM file structure, and then select the disk files or configuration files to restore.
For example, select
.vmdk,.vmx, or other VM files. -
Click Restore.
-
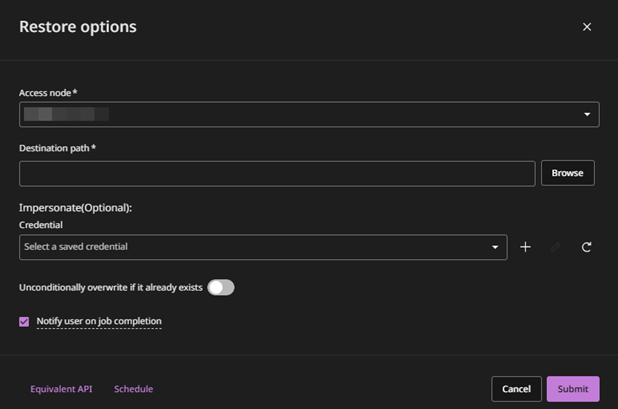
On the Restore options page, configure the following:
-
(Optional) Configure additional settings. For more information, see Common settings for virtual machine protection.
-
Click Submit.