Download and setup the HyperScale X Reference Architecture software.
Note
For Appliances, the installation media comes pre-installed and this step is not required.
Procedure
-
Login to a Windows based computer that can connect to the nodes.
-
Download the most recent version of the HyperScale software from Commvault Store.
Note
Hyperscale ISO 3.2408 is the current most recent version.
-
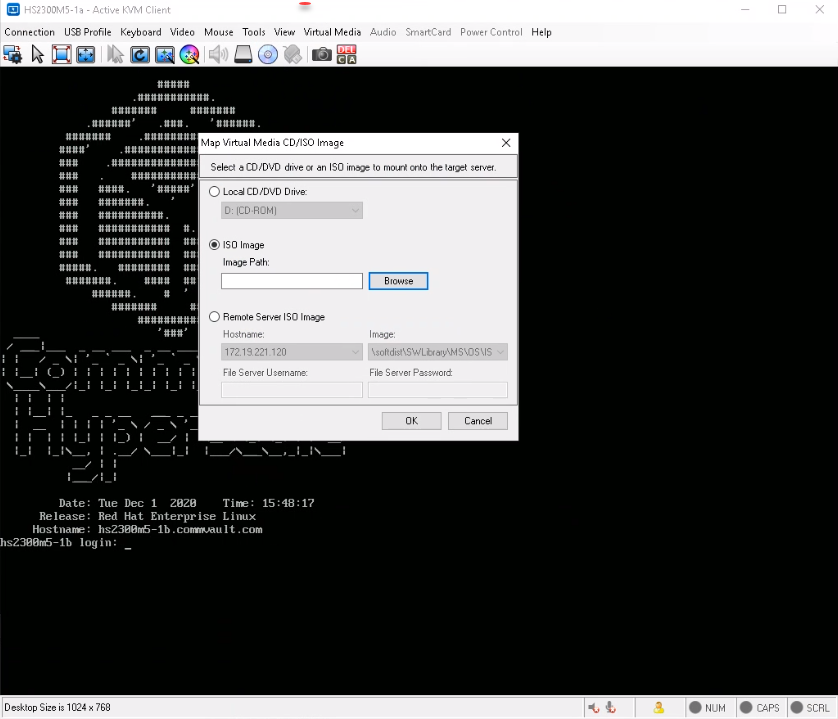
Access the node using the KVM management console in your environment and map the downloaded ISO image as a virtual media from the KVM Management console.
Click here to view a sample image.
-
Mount the appropriate ISO and power cycle the node as follows:
-
During the boot sequence press <F12> when the following message is displayed. (This message will be displayed briefly for a few moments only during the boot sequence.)
Press F2 to enter Setup or <F12> to enter Boot Menu.Note
The key combination or function to enter the boot menu maybe different, depending on the server model. Use the appropriate combination to open the boot menu.
-
Select the virtual media as the boot device and press <Enter>.
UEFI boot mode is recommended. Disable UEFI secure boot, if it is enabled. Refer to the documentation associated with your server for more information.
The Commvault HyperScale Install will be started.
-
-
The HyperScale Configuration Detected screen is displayed.
Note
- If nodes were previously used for HyperScale X and are reimaged, the HyperScale Configuration Detected screen appears. For new machines that are being imaged for the first time, this screen does not appear.
- The screen may look different, depending on the number of drives.
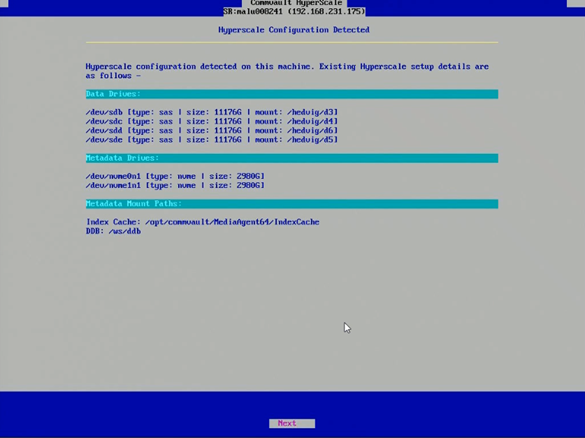
Choose Next.
The installation process will start. This process will take some time to complete.
-
After the installation is completes, the node reboots automatically.
If you see the following warning you must go to the raid controller in the node and create a RAID 1 logical volume with
/dev/sdaand/dev/sdb drivesfor the OS install.
-
After reboot, launch the installer using the following default credentials:
Login: root
Password: cvadmin
(Press <Alt> + <Ctrl> + <F2> if the login prompt is not displayed.)
Note
This password can be changed during setup.
Important: Note down the Hostname, which is the node serial number. This will be useful to identify the node when you deploy the HyperScale X Reference Architecture software.